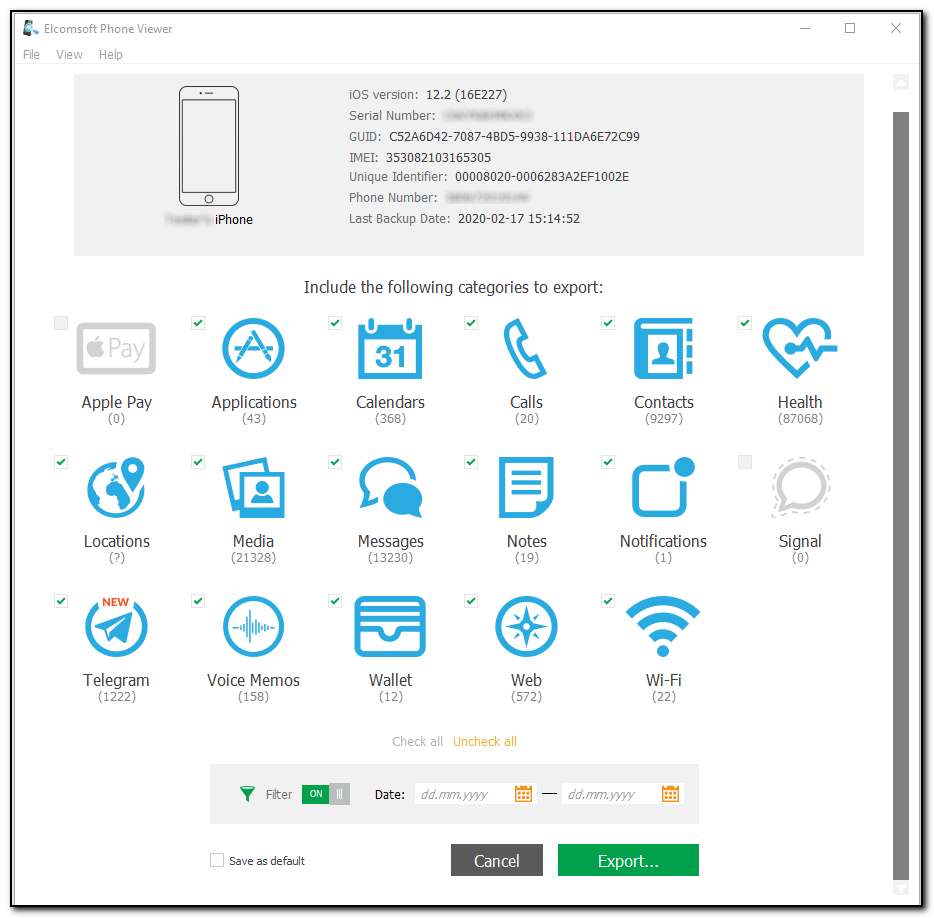
EPV allows you to view iOS device images acquired via Elcomsoft iOS Forensic Toolkit (EIFT). Currently, the following categories are available for iOS device images:
•Apple Pay
•Applications
•Calendars
•Calls
•Contacts
•Health
•Locations
•Media
•Messages
•Notes
•Notifications
•Signal
•Telegram
•Voice Memos
•Wallet
•Web
•Wi-Fi
To reduce the time it takes to add the iOS device image, disable the Windows Defender protection first:
1.Open the Windows Start menu.
2.Click Windows Defender Security Center in the app list.
3.Click Virus & threat protection.
4.Click Virus & threat protection settings.
5.Turn off Real-time protection.
Once the steps are completed, Windows Defender will temporarily disable the real-time protection. The next time you restart your computer, the Windows Defender protection will be re-enabled automatically.
Once the iOS device image is added, it is recommended to enable the Windows Defender protection.
To add the iOS device image to EPV, do the following:
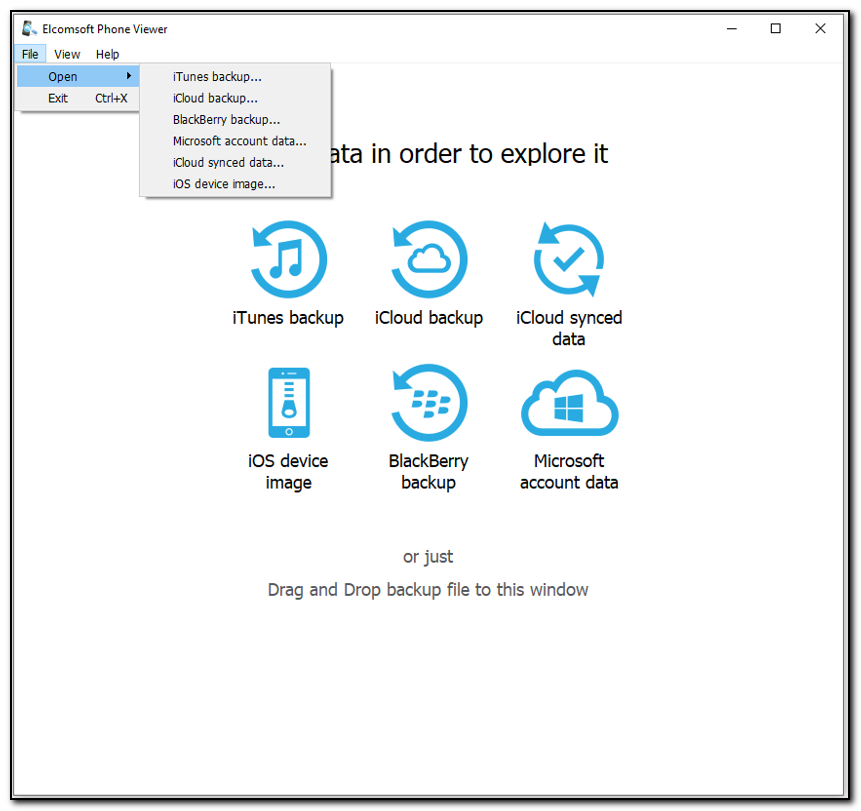
1.On the main screen, click iOS device image, select iOS device image in the File > Open menu, or drag and drop the image file (.tar archive) to the program window.
2.Browse for the .tar file with the iOS device image acquired via EIFT (see Supported Apple device backups and About iOS device images for more info).
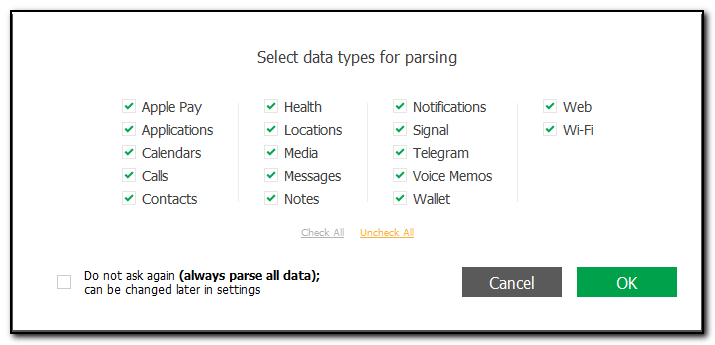
3. Select data types for parsing when opening the image file (you can change this later in Settings).
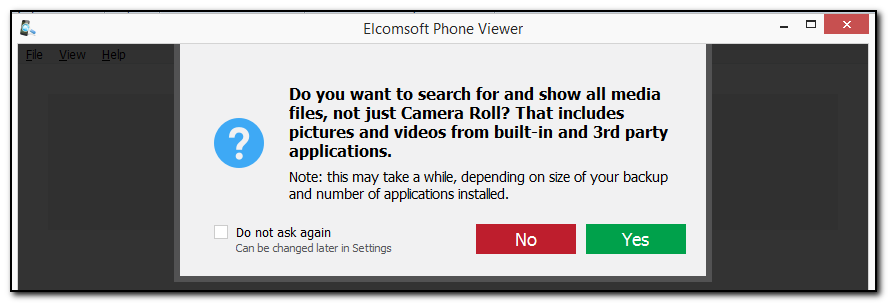
4. Select if you want EPV to search for and display Camera Roll media only or all media files (you can change this later in Settings).
Once the iOS device image is loaded, its name and device type is shown under a generic image, as well as the following information:
•iOS version
•Serial Number
•GUID
•IMEI
•Unique Identifier
•Phone number
•Restriction password
NOTE: Restriction password is available for encrypted, not encrypted, and decrypted iOS 11 and lower backups.
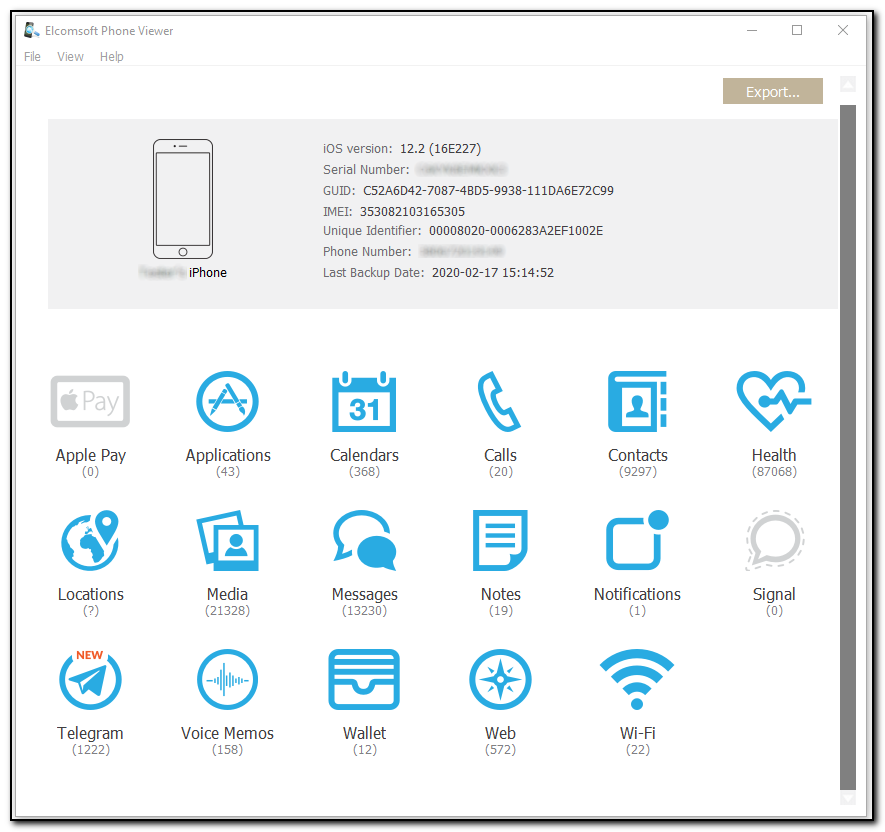
The lower part of the window shows all plugins available (some of them might be disabled if there is no appropriate information in the device image):
•Web
Click the plugin icon to view the contents.
Exporting Data from Plugins
1. Click Export.
2. Select the plugins data from which you want to export or click Check all.
3. Optionally, enable filtering to export data for a certain time period. To do so, switch the On/Off toggle, and then select the dates in the calendar fields.
4. Click Export.
5. In the opened window, select the location in which the file with exported data will be saved and enter the file name.
6. Click Save.
7. The <file name>.xlsx file is saved in the selected location.
